Creating Solar Roof Maps in Polysun SPT
Creating solar roof maps in Polysun SPT is crucial for precise photovoltaic system design. The software enables planners to map diverse roof shapes, including shed, sawtooth, cross ridges, and facades, ensuring accurate PV layouts. Instructional videos offer expert tips to streamline the process, enhancing solar energy utilization.
How do I start with Drawign Solar Roof
If you click on “Draw / Import”, a new window will open. There you can:
- draw a roof based on satellite images, e.g. Google Maps
- import a graphic, e.g. a roof plan or an aerial photograph, and draw a roof based on this graphic
- import a 2D drawing, you can find out more about this in the article Importing 2D drawings
Drawing the Roof on Satellite Images
Video: Draw / Import
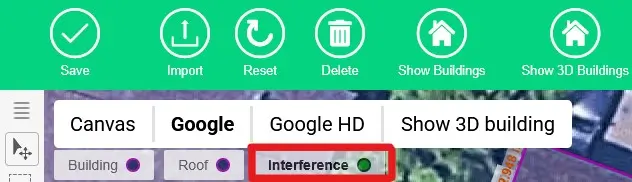
Tools
- Auxiliary line

- Drawing

- Ridge

Start by drawing in guide lines with the guide line tool. If you draw a large number of auxiliary lines, this will make it easier to draw the roof. By holding down the Shift key, you can orientate new lines to existing guidelines.
Pay attention to right angles when drawing and ignore possible distortions of the satellite image.

In the next step, use the drawing tool to draw the roof along the existing guide lines. To do this, click on the pencil icon and select the “Polygon” option (free form). Then use the automatic point snap to draw the roof outline at the intersections of the guide line. As soon as this is completely drawn in, the enclosed area is displayed in dark colour.

In the next step, you can use the ridge tool to draw in the ridges. To do this, hold down the Shift key to orientate yourself on the existing auxiliary lines. You can also use the automatic point snap function in the centre of a roof edge. Click on the Escape key to interrupt the drawing process in between. During the drawing process, Polysun automatically suggests possible ridge lines. Continue drawing ridge lines until all automatic suggestions have either disappeared or have been overdrawn. As soon as the ridges are completely drawn, Polysun symbolises the alignment of the modules with arrows.
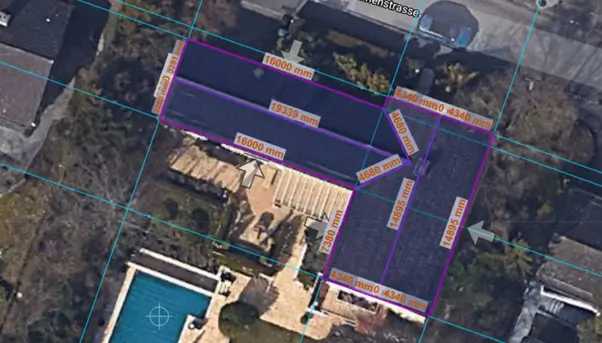
If you want the alignment along a different roof edge, you can do this using the “Alignment” tool ![]() . To do this, select the tool and select the roof edge that is to represent the “new south”.
. To do this, select the tool and select the roof edge that is to represent the “new south”.
In this way, the modules are automatically aligned along the edge of the roof.
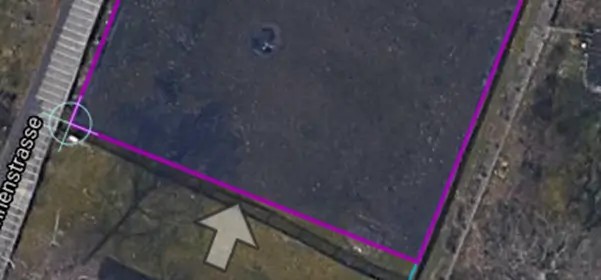
When the roof is completely defined, all subsequently drawn areas are defined as interfering areas and drawn in green. If the “Interference area” field flashes, the interference areas can be drawn.
The first step is to define another auxiliary line along an edge. The interference areas can then be drawn with the pen tool. If it is a rectangular interference area, the “Rectangle” pen tool can be selected. Use the Shift key to align the interference area with the auxiliary line.
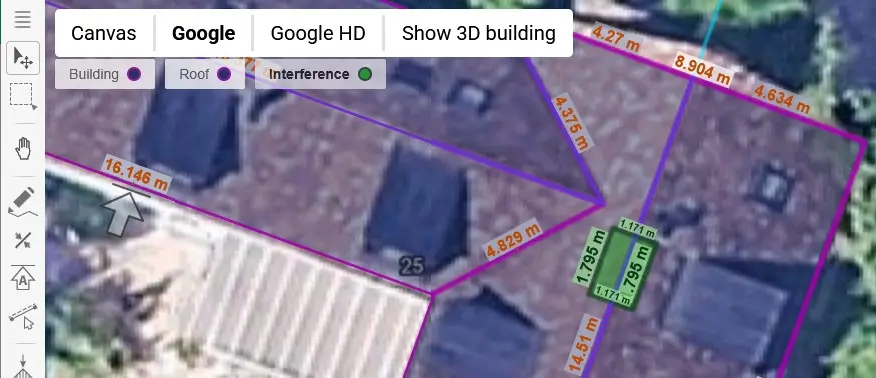
The detailed view is located on the right-hand side of the image. Here you can click on “Interference areas” and select the desired interference area. It is possible to change the name and height of the interference area. If a chimney is to be drawn, the “Parallel (window)” box can be unchecked. This means that the chimney is drawn perpendicular to the floor and not parallel to the roof pitch.
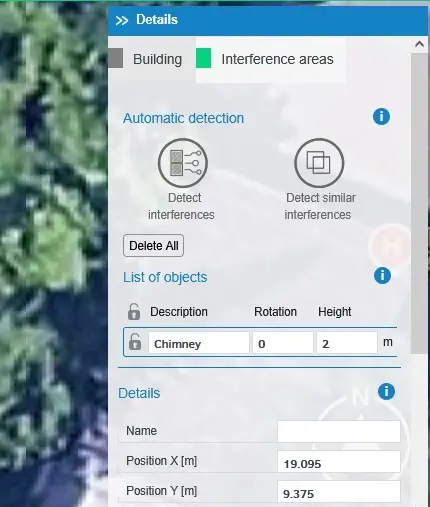
An interference surface can also be duplicated. First select the interference area. Then, by simultaneously holding down the Control button and the mouse on the interference area, the interference area can be duplicated by moving the mouse.
Video: Duplication of Interference areas
Click on Save to save the roof.
Click Save again in the roof editor to proceed to the next step. Polysun will ask you whether you want to apply the setting to all roofs. Select “All roofs”.
Draw roof on the basis of an imported graphic
If you want to draw a building that either does not yet exist on the map or is too imprecise due to shading, you can import a floor plan. For example, you can import a .png or .pdf file.
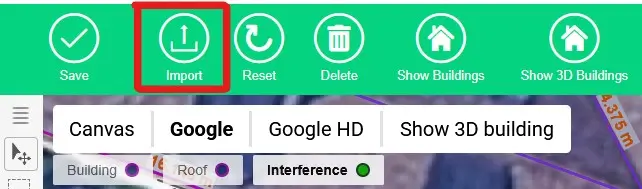
In the first step, click on “Import” to import a graphic.
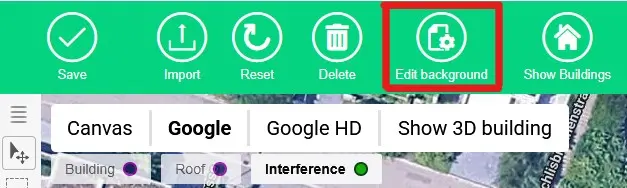
You can now select and import the desired file. After the import, the graphic is saved as a background. If you want to make changes to the background, this can be done via “Edit background”.
You now have the option of moving, rotating or scaling the graphic to the desired location. You will find the “Details” window on the right-hand side of the screen. Here you can rotate the graphic using the “Rotate” column. The length of the reference length can also be defined here.
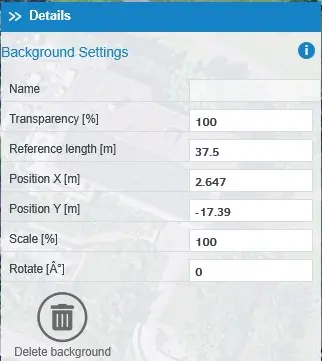
The length of the reference length can also be defined here. The reference line corresponds to the red line in the graphic, which has reference points at both ends. This line can be moved and can, for example, be moved to a building edge where the length is known. The length of this building edge can then be adjusted under “Reference length” in the details, whereby the graphic is scaled.
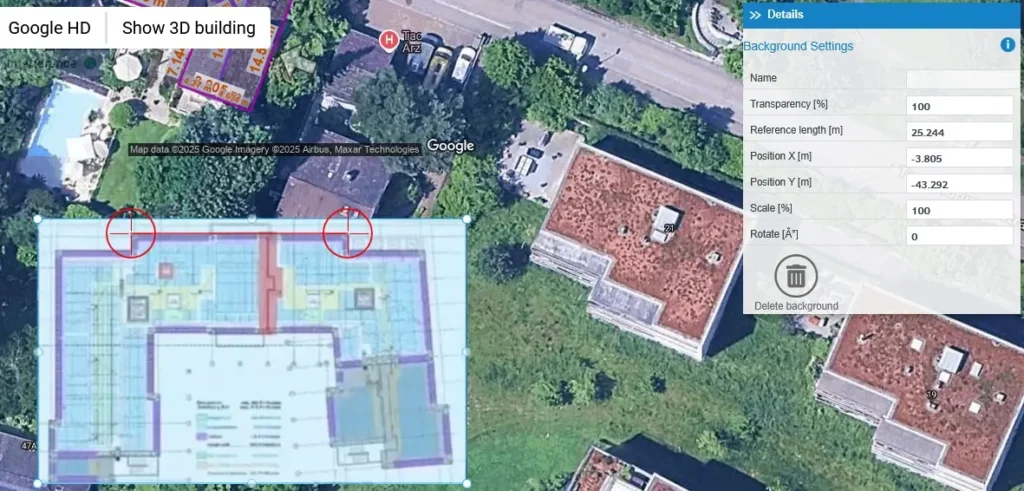
Once the background has been customised as desired, the background can be saved. The building can then be drawn using the outline as described earlier in this chapter.
Video: Importing roof plans
How to calculate how many solar panels are needed?
To calculate the number of solar panels needed in Polysun SPT, start by creating a precise solar roof map using the software’s tools to model roof shapes like shed, sawtooth, cross ridges, or facades, as guided by instructional videos. This ensures accurate roof area measurements. Once the roof is mapped, input the available roof area, solar panel wattage (e.g., 400W per panel), and project-specific data (e.g., energy demand, location, and sun exposure) in Polysun SPT’s planning interface. The software calculates the optimal number of panels tailored to the mapped roof.