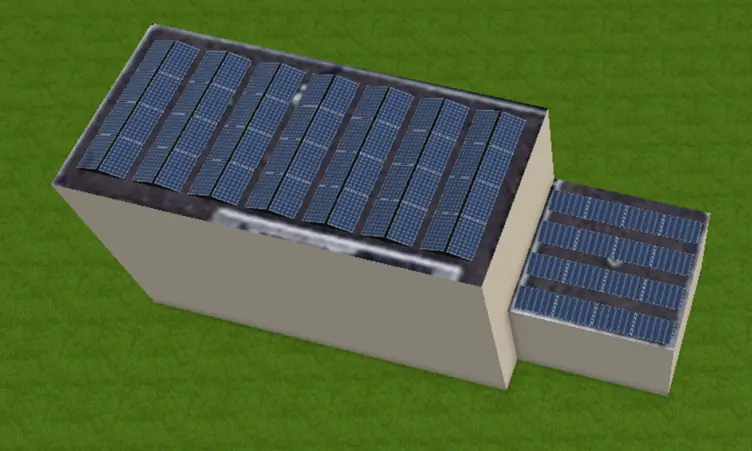
You can choose from eight different roof shapes in the roof editor:
- Ridge roof
- Hip roof
- Half-Hipped roof
- Pavilion roof
- Shed roof
- Flat roof (Elevation)
- Customized
- Custom (Elev.)
- Façade
First complete the input options in the roof shape. These include:
- Building details
- Slope of roof
- Title
- Roofing
- Product type (only applies to the roof types “Flat roof (Elevation)” and “Custom (Elevation)”)
- System alignment
- Snow load
- Peak velocity pressure
The “Product type” input option is used to select the elevation directions. You can choose between a south elevation or an east/west elevation.
The “Customized” and “Custom(Elev.)” roof shapes can be configured flexibly, for example by tracing a satellite image or importing a 2D drawing. If you have selected a roof shape of the “Customized” type, the “Draw / Import” option appears there. You can find out more about this in the “Draw / Import“ chapter.
You will find several videos on modelling different roof shapes in the following chapter “How to draw …“.
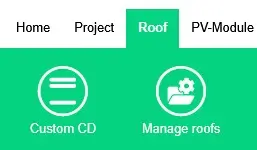
Function – Manage roofs
If you have several roofs, you can use the “Manage roofs” function to easily move from one roof to another, allowing you to select the other roofs.
In the next step, you can create a new roof and name it.
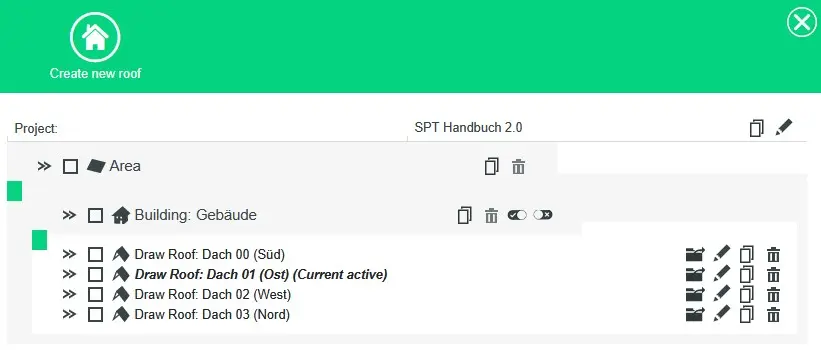
Click on the folder icon next to the new roof to open it.
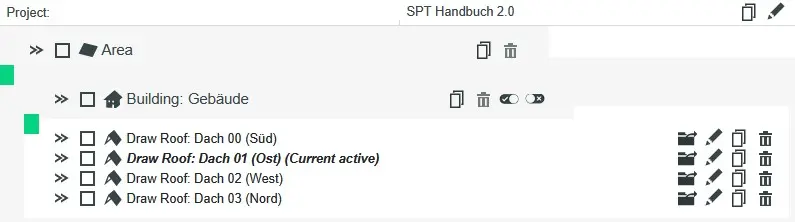
The roof is now open and you can start editing the roof as usual. If you click on “Draw / Import”, you now also have the option of referring to the first roof. The first roof is represented by a dark grey outline. If you draw in an auxiliary line, the point snap automatically captures the line and the corners.
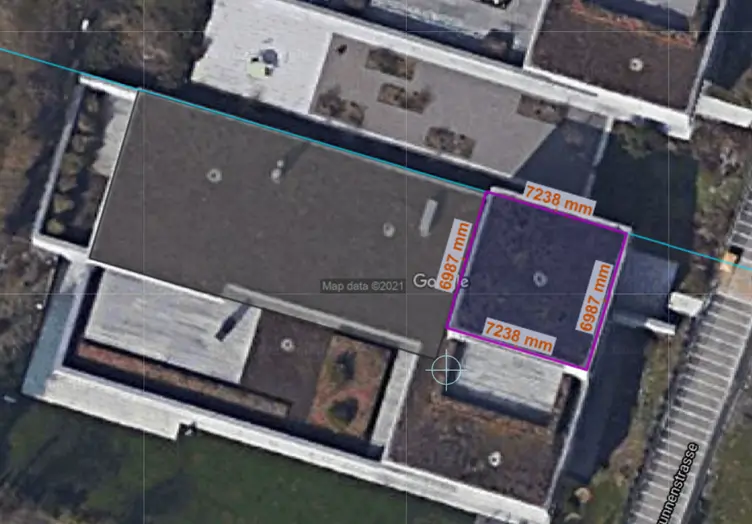
Now go to the “Position” tab. Select “3D scene Total”. The two roofs will then appear next to each other.